
Congratulations on your new home! It’s a special moment, and there are important things you should do for a great start for your new journey. Here is general list 12 things to do after buying a home.
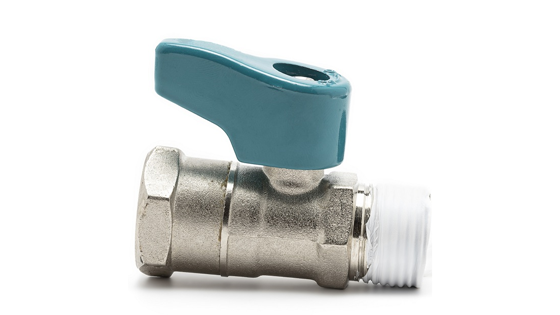
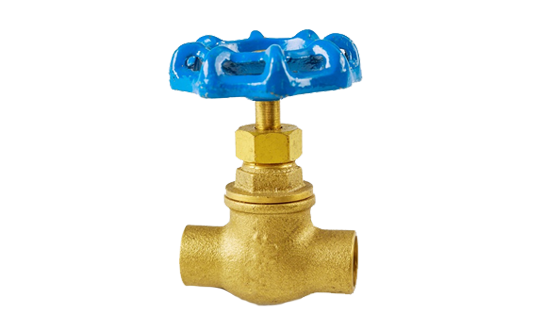
1) Locate Your Home’s Main Water Shut-off Valve.
Know where your main water shutoff valve is in case you need to shut off the water to your entire house. Almost all homes have one main shutoff valve directly before the water meter and another directly after. Where the meter is located depends on the climate in your area. In cold climates, the meter and main shutoff valves are located inside, usually in a basement or other warm area to prevent freezing.
Turn your water off or on using the main valve on the house side of the meter. This valve will normally be a gate-type valve, with a round knurled handle, requiring several full clockwise rotations to turn off. In newer homes, it could be a ball valve.
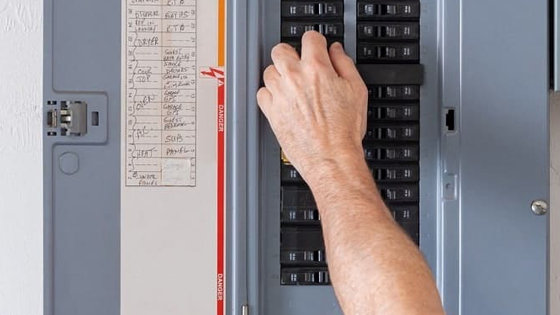
2) Locate the Electrical Panel
Find the electrical panel so you know where to shut off the power to your whole house or an individual circuit. You’ll usually find the main circuit breaker panel—a gray, metal box—in a utility room, garage, on the outside of the home. Behind the door is the main breaker for the entire house (usually at the top of the panel) and two rows of other breakers below it, each controlling individual circuits. If you’re lucky, there will be a guide that indicates which outlets and receptacles are served by each circuit. When in doubt, hire an electrician to help you!
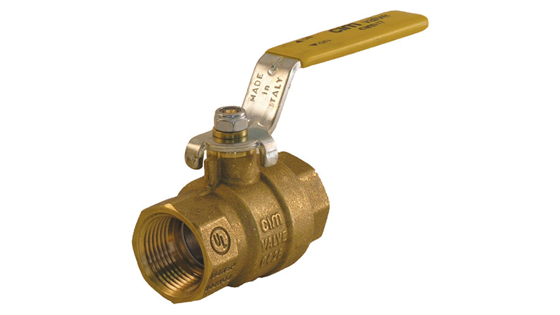
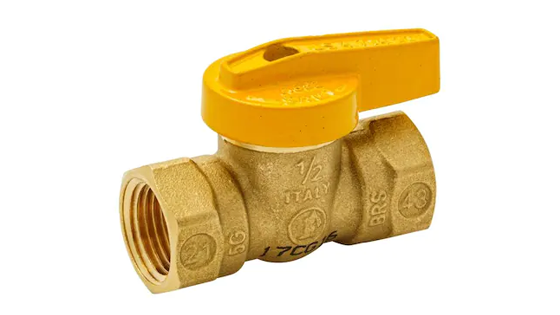
3) Locate the Gas Shut-off for the Home or Unit.
Start by familiarizing yourself with the gas meter’s location; it’s typically situated outside, near the front or side of your property. Once you’ve located the meter, look for a valve adjacent to it. This valve is the main shut-off for your gas supply. In most cases, you’ll find it equipped with a lever or wheel that allows you to turn it off. Remember, it’s essential to exercise caution when dealing with gas-related equipment. Take the time to educate other members of your household or unit on this vital information, ensuring everyone knows how to safely shut off the gas supply if the need arises. Sometimes gas shut-off values require a special wrench or tool to open/close. Your proactive approach to gas safety is a crucial step in maintaining a secure living environment for you and your loved ones.
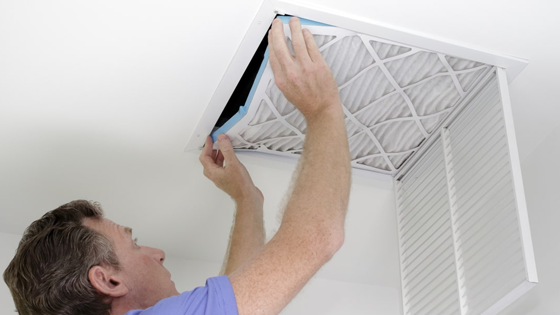
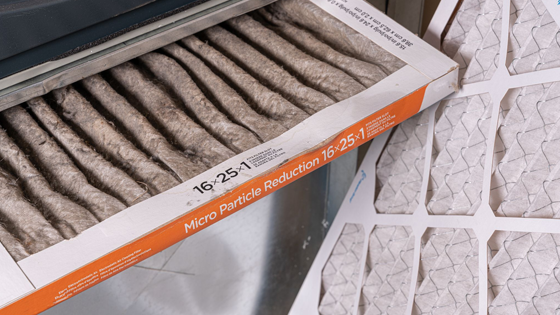
4) Replace the Air Conditioner Filter
Locating and replacing your air conditioner filter is a straightforward task that can greatly enhance the efficiency and longevity of your cooling system. Begin by turning off the power to your air conditioner to ensure safety during the process. Next, find the access panel, usually located near the air handler unit. Open it carefully, exposing the filter slot. Extract the old filter, paying attention to its orientation. Take note of the filter size, which is usually printed on its frame, to ensure you purchase the correct replacement. Before inserting the new filter, clean any dust or debris from the surrounding area. Then, slide the fresh filter into the slot, matching the arrows or markings for proper alignment. Close the access panel securely and restore power to your air conditioner. This simple maintenance task promotes optimal airflow and improves indoor air quality, contributing to a more comfortable and efficient home environment. Replace as per the recommendations indicated on the filter or the air condition instructions or maintenance sticker on the unit.
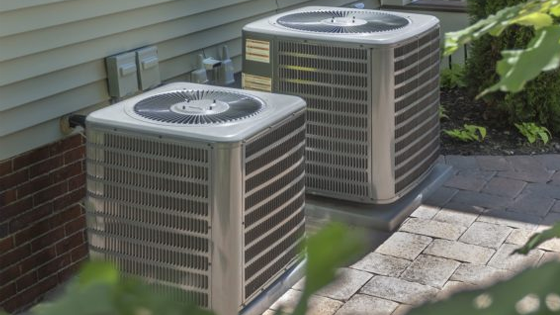
5) Clean the Air Conditioning Unit
Clearing debris around the outdoor unit promotes proper airflow, improving its overall performance. Routine inspections of the ductwork and insulation help prevent energy loss. Additionally, scheduling professional check-ups twice a year ensures any potential issues are promptly addressed, preserving the comfort and longevity of your central air conditioning system, especially having an HVAC professional lubricate moving parts which reduces friction, prolonging the lifespan of the system. By adhering to these steps, you can enjoy a consistently cool and energy-efficient home environment.
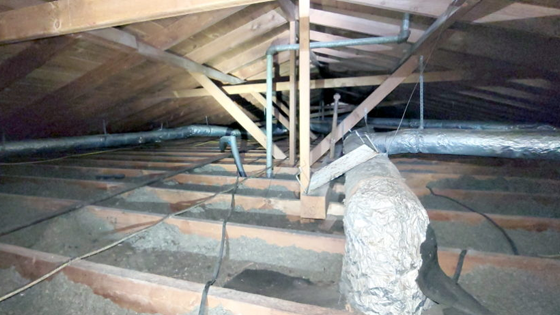
6) Inspect Crawlspaces and the Attic
Taking a peek into your crawlspaces and attic is super important for keeping your home safe and cozy. These spots are sometimes forgotten, but they can hide little problems that might turn into big headaches later on.
In your crawlspace, keep an eye out for any signs of moisture like water spots or mold, and also check for pests. It’s also a good idea to make sure the insulation and airflow are in good shape for saving energy and avoiding potential damage.
As for the attic, make sure the insulation is doing its job and watch out for any leaks or water damage. Keep an eye out for pests too! Plus, take a moment to have a licensed contractor check that the structure of the attic is strong enough to hold any stuff you’ve stored up there or any changes you’ve made.
If you make it a habit to check these areas regularly, you’ll be able to tackle any issues right away, which will help keep your home in great shape and maintain its value.
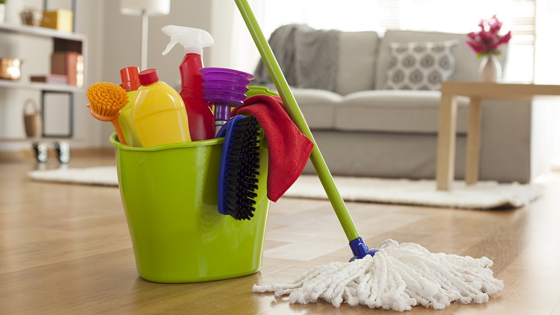
7) Clean
Start at the top (the attic or second-story rooms) and work your way down. Clean ceiling light fixtures first, scrub walls and woodwork, and finish with floors. As you work your way from top to bottom, don’t leave one area until it is completely clean and then move on. Don’t drag dirt from one area back into the place you just cleaned. Finally, don’t underestimate the power of clean windows. Family or guests won’t walk in and think, “The windows are so clean!” But, let’s be honest, freshly cleaned windows look great from the outside and with the lights on, they sparkle on the inside. Clean windows may not get noticed; but dirty windows certainly will!
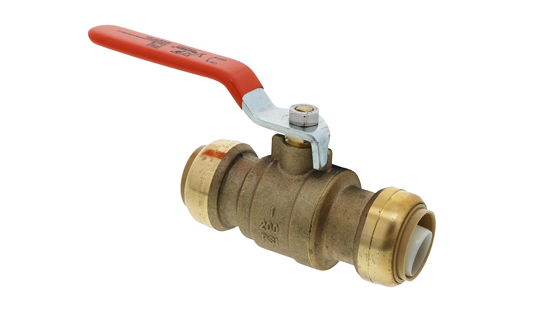
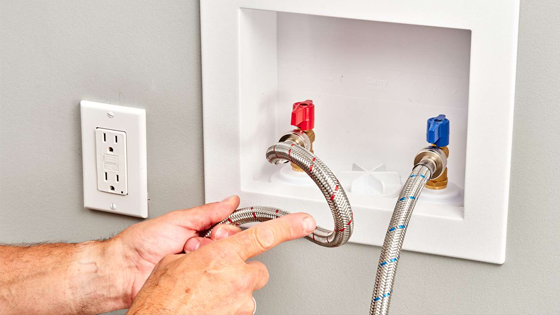
8) Upgrade Washing Machine Hoses
Replace rubber washing machine hoses with no-burst woven metal hoses to avoid water leaks from the washing machine. Burst hoses can spell big, costly trouble. Replacing the hoses can save you a lot of time, money and frustration down the road. If your washing machine is connected to bare rubber hoses, you’re risking thousands of dollars’ worth of water damage. Under constant water pressure, these hoses are prone to leaks or even bursting. No-burst hoses are encased in a woven metal sleeve that prevents weak spots in the rubber from developing into leaks. The hoses are available at home centers and installing them is as easy as connecting a garden hose. The best way to remove and replace hoses is to hire a licensed plumber so they can make sure it is done correctly and to reduce chances of leakage.
9) Meet the Neighbors
It’s wise to reach out and extend a friendly gesture to your neighbors as soon as possible. You want to know those around you so that everyone can look out for each other. It’s hard to know if a situation is suspicious if you don’t know the people involved. Establishing yourself in your neighborhood can also give you access to inside information, like who’s the best plumber in the area and which roofing company to avoid. Even if you’re an introvert, you’ll be happiest if you’re in good standing with your neighbors.
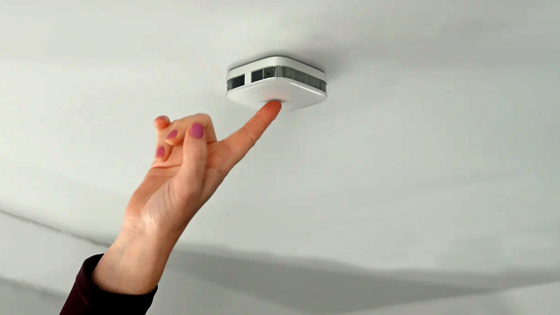
10) Check Smoke and CO Detector Dates and Replace, as needed
It’s important that you know where your smoke and CO detectors are located and that you make sure they are working. Smoke alarms may be the cheapest, easiest and most effective means for protecting your family and your home from a fire, as long as they’re functioning. Learn where smoke detectors should be located, how to maintain them, when to replace them. Ask your local fire department where the smoke detectors should go and read the installation manual for CO detectors to see where they should go as well.
11) Start a Sample File
It’s tempting to keep all of your home-related information stored in the cloud. However, for samples or paint, fabric, tile, plastic laminate, etc., it’s better to keep an actual physical sample. Trying to work with colors rendered on your phone can lead to mistakes that can be costly. All you need is a simple accordion file or even a small box with a lid. Some time in the future, you may need to paint over repaired walls and find it difficult to match the color exactly. Save samples of colors used in your home to make it easier for retail paint suppliers to mix the colors of the paint to match.

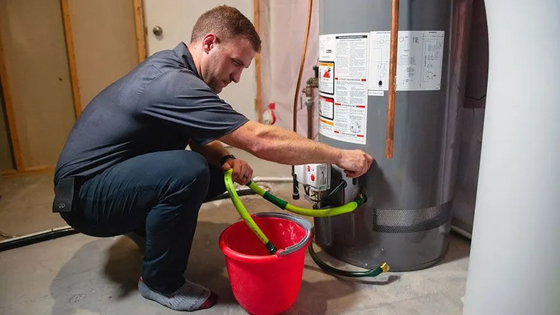
12) Flush the Water Heater
Potentially extend the life of your water heater. This boring but important chore should be done at least once a year to remove sediment that accumulates on the bottom of the tank. That’s especially true if you live in a hard-water area. The task is easy to blow off because it’s out of sight—but skipping it is costing you a lot. Sediment buildup reduces the heating efficiency of your water heater. One sign of excessive sediment buildup is a popping or rumbling sound coming from your water heater. That’s the sound of steam bubbles percolating up through the muck. On a gas water heater, the sediment creates hot spots that can damage the tank and cause premature failure. On an electric water heater, sediment buildup can cause the lower heating element to fail. So, flushing offers a payback in lower energy bills and extended heater life. However, if you’ve never flushed your water heater, or haven’t done it in years, you could be in for a nasty surprise. As soon as you open the drain valve, the sediment will likely clog it and prevent you from closing the valve all the way after it’s drained. Then you’ll have sediment buildup and a leaking water heater.
As your local real estate agent in Irvine, Newport Beach, and of Orange County, I specialize in using digital and modern marketing strategies to showcase homes as a listing agent to my sellers. I put in the work to create engaging content, promote listings with strategic social media campaigns, and ensure properties get the exposure they deserve.

Hiring me means choosing a dedicated representation that can give your home a powerful online presence, attracting serious buyers and working toward securing the best possible offers!
Let’s talk about what we can do together.
For you.
For your family.